
The invitation step is deliberately simple. You pick a tenant, pick a unit, and send. The tenant receives an email, creates their Tenantify account, and lands on their dashboard. Only after they accept do you configure the lease. This split keeps the invite light and prevents you from committing to rent figures before the tenant has agreed.
First time on Tenantify? You can do this step inside the first-time setup wizard instead of from the dashboard — the wizard also lets you skip the invite and come back to it later. This guide is the standalone reference for sending subsequent invitations from the dashboard.
Who this is for
Landlords with an estate and at least one unit marked AVAILABLE.
What you’ll get done
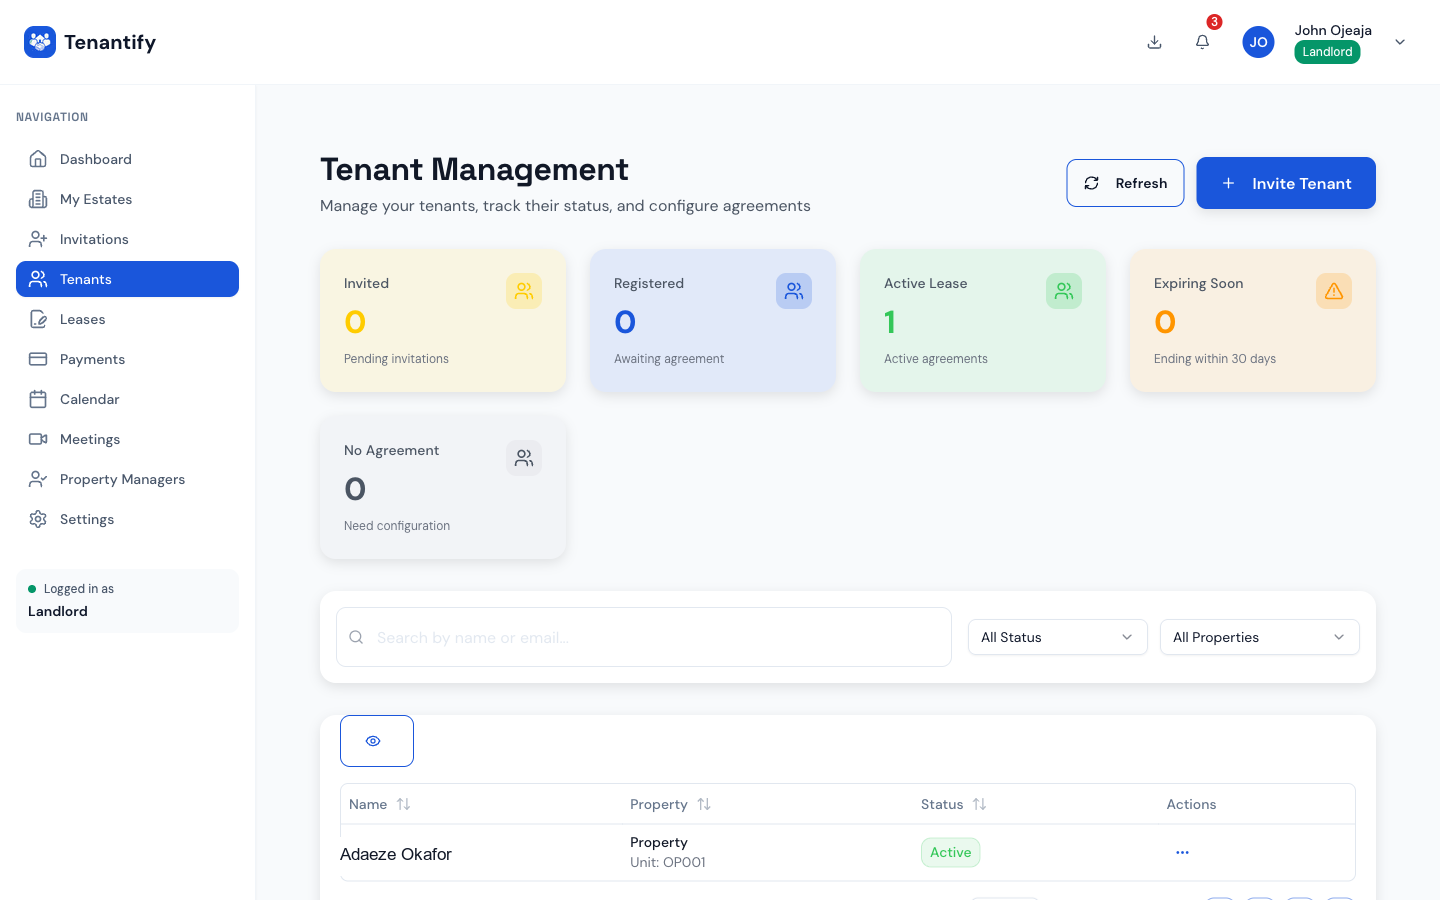
An invitation email sent to your tenant and a new row on your Tenants page tracking their progress. When they accept, the row’s status changes, and the Configure Agreement button activates.
Before you start
- The tenant’s full name and email address.
- An AVAILABLE unit in your estate. If every unit is occupied, this guide will not find one to assign.
Steps
1. Open the Tenants page
Click Tenants in the sidebar. A first-time visit shows an empty state with an Invite your first tenant button in the centre. After the first invite, the button moves to the top-right as Invite tenant.
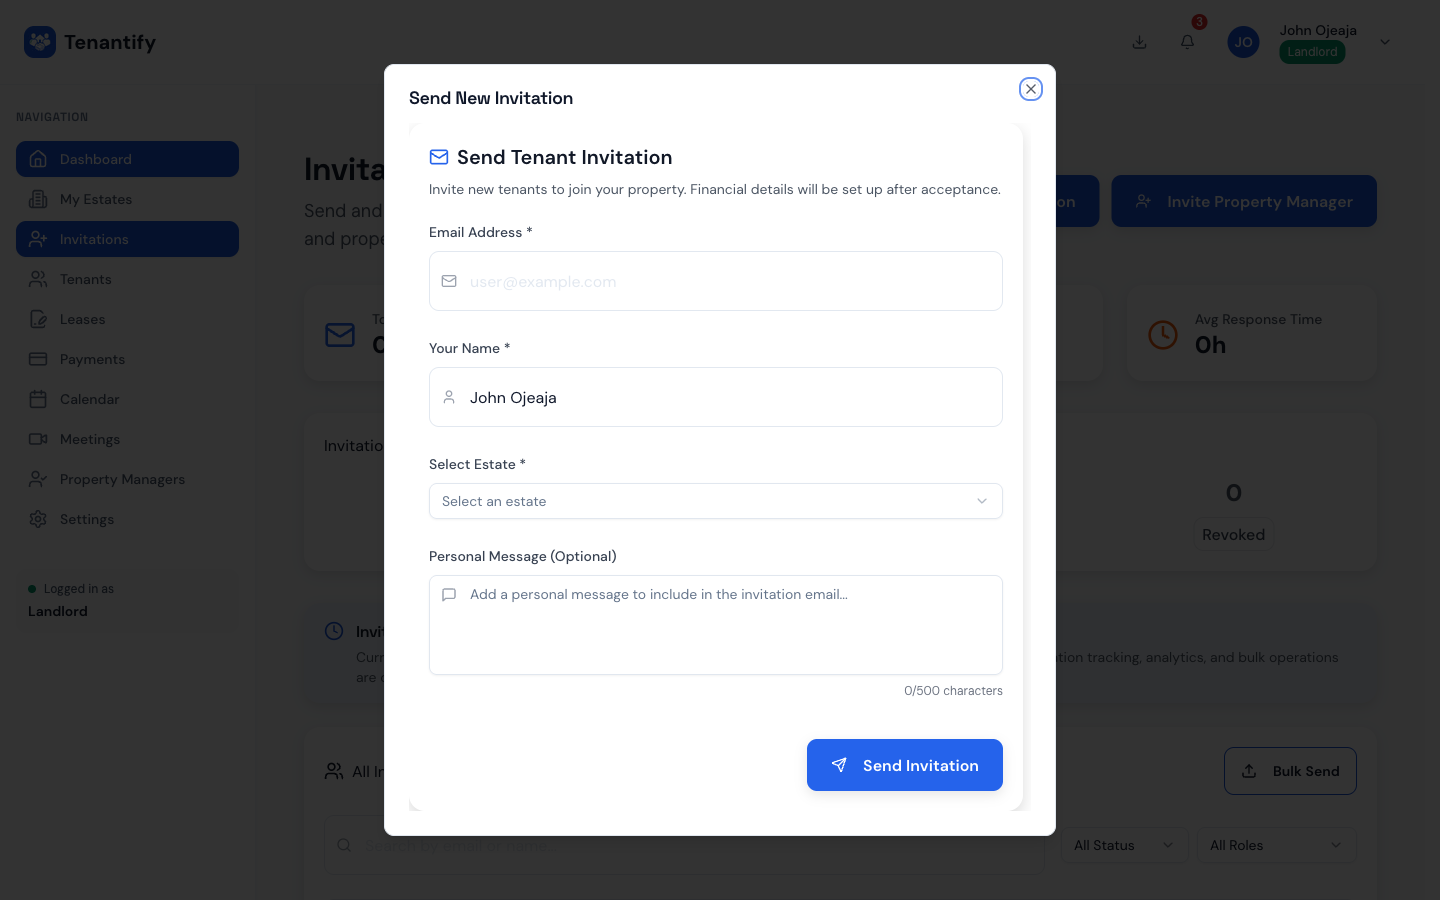
2. Fill the invitation form
A drawer opens on the right. Five fields to fill:
- Email. Where the invitation lands.
- Full name. As it appears on their ID. This flows through to the lease when you configure it later.
- Phone. Optional. The tenant sets this themselves during signup if you skip it.
- Estate. Pick from the drop-down.
- Unit. Only AVAILABLE units show here.
- Personal message. Optional, 280 characters. Useful to reassure the tenant this is not phishing: “Hi Ada, this is your new flat on Admiralty Way.”
Notice what the form does not ask for: rent, deposit, lease dates, payment frequency. Those come later. Sending the invitation does not commit you to any financial terms.
3. Send
Click Send invitation. Tenantify emails the tenant a unique link valid for seven days. Their row appears on your Tenants page with status INVITED and a countdown to expiry.
4. Wait for the tenant to accept
Your tenant opens the email, sets a password and Nigerian phone number, and clicks accept. Two things happen on their side:
- A Tenantify tenant account is created for them.
- The unit is marked OCCUPIED on your estate.
No lease exists yet. No payment schedule exists yet. That all comes next, when you configure the agreement.
On your side, the tenant row changes status (typically to ACCEPTED or AWAITING AGREEMENT) and the Configure Agreement button becomes available.
5. Configure the tenancy agreement
This is the important next step, and it has its own dedicated guide because it carries the weight of the lease: rent, deposit, service charge, payment frequency, payment day, late-fee rule.
Continue to Configuring the Tenancy Agreement now.
If something goes wrong
The tenant says the link doesn’t work. Usually the seven-day expiry has passed. Open the invitation on the Tenants page and click Resend. A fresh link goes out.
No AVAILABLE units in the drop-down. You either have no units yet or every unit is already occupied. Visit the estate detail page to confirm.
Phone format rejected during tenant signup. Tenantify accepts Nigerian phone numbers only. Ask the tenant to use +2348012345678, 2348012345678, or 08012345678.
Tenant accepted but no Configure Agreement button. Refresh your Tenants page. If the status still reads INVITED after thirty seconds, they may have accepted from a stale tab. Ask them to log out and back in.
What’s next
Head to Configuring the Tenancy Agreement. This is where rent, deposit, and schedule get set. The tenant cannot pay until you finish that step.