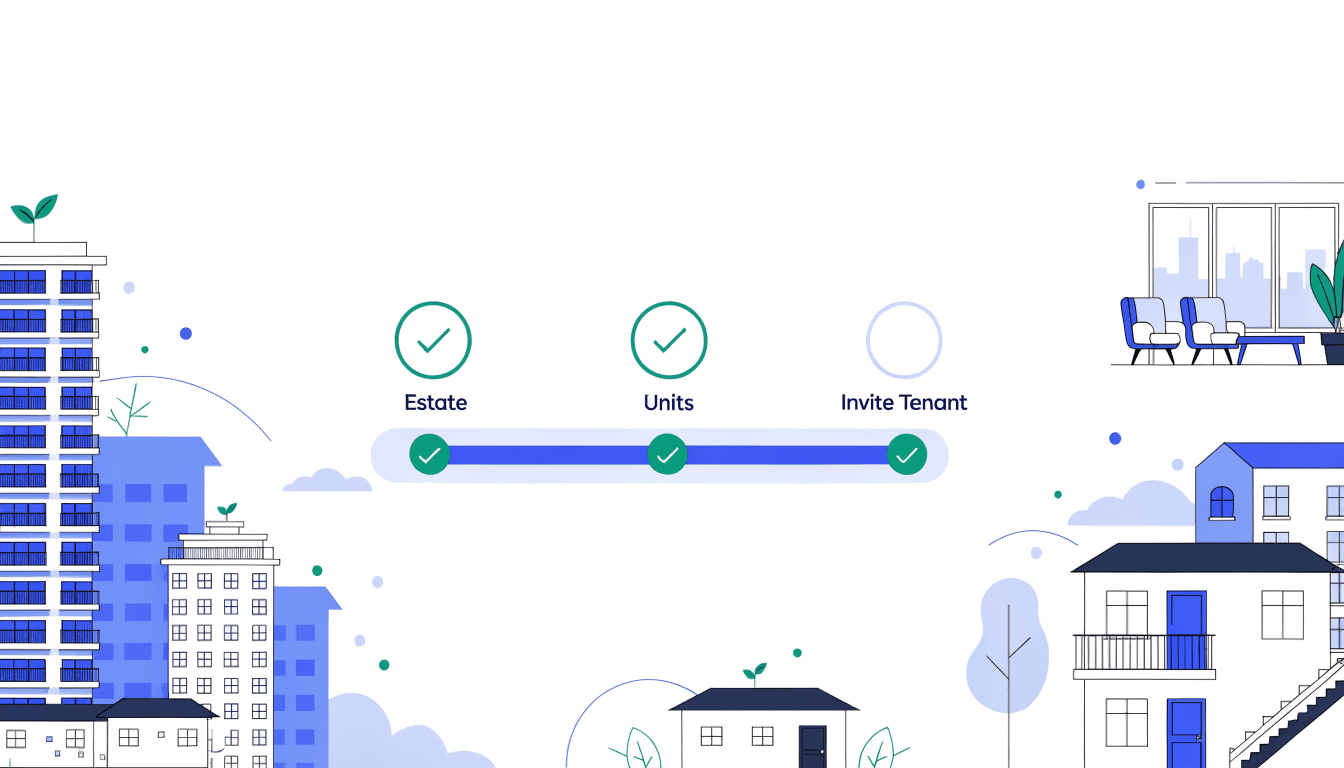
The first time you log in to Tenantify and land on the Properties page, there is one button on the page: Create Estate. Click it and Tenantify routes you to a guided wizard at /onboarding/setup instead of the regular estate-creation modal. The wizard handles three short forms in sequence, then drops you on the regular dashboard with your first estate, your first units, and your first tenant invitation already in place.
Who this is for
You, if you just verified your email, logged in for the first time, and are looking at an empty Properties page.
Landlords who already have one estate on Tenantify and are adding a second do not see this wizard — Tenantify routes that case straight to the regular estate-creation flow on the Estates page. The wizard is reserved for the first estate.
Why the wizard exists
Most landlords who sign up never collect their first naira. Tenantify is not hard; most property apps just drop new users at an empty dashboard and leave them to guess the order of operations. The wizard removes that guess. It walks you through the only three steps that have to happen first, in the only order that works, and disappears once you are past them.
Before you start
Have these three things within reach:
- Your property's name, address, city, and state. The address goes on every lease and receipt Tenantify generates, so write it the way you would on a tenancy agreement.
- One unit's details. The unit name or number (Flat 2B, Block C Apartment 4), property type (apartment, house, duplex, penthouse, studio, commercial, office, or shop), bedroom count, bathroom count, an estimated monthly rent in naira, and an estimated security deposit in naira. The wizard lets you confirm the final figures later when the tenant accepts.
- One tenant's email address. The person you will invite first. If you do not have a tenant lined up yet, skip the invite step and come back to it from your dashboard later.
You do not need bank details or Paystack onboarding for the wizard. Those come after.
The three phases
Phase 1: Create your property
The first screen asks for your property's name, address, city, and state. (The wizard labels this step "Create Your Property" in the UI; everywhere else in Tenantify, the same record is called an "estate".) This is the parent container — every unit, lease, tenant, and payment you create on Tenantify will hang off it.
Screenshot coming soon
Phase 1: Create Your Property form with name, address, city, and state fields
The property name shows up on every tenancy agreement, every receipt, and every email Tenantify sends. Pick something a stranger could find on a map — "Adeyemi Estate, Lekki Phase 1" reads better on a lease than "My Block".
Submit when every required field is filled. Tenantify creates the record and advances you to Phase 2.
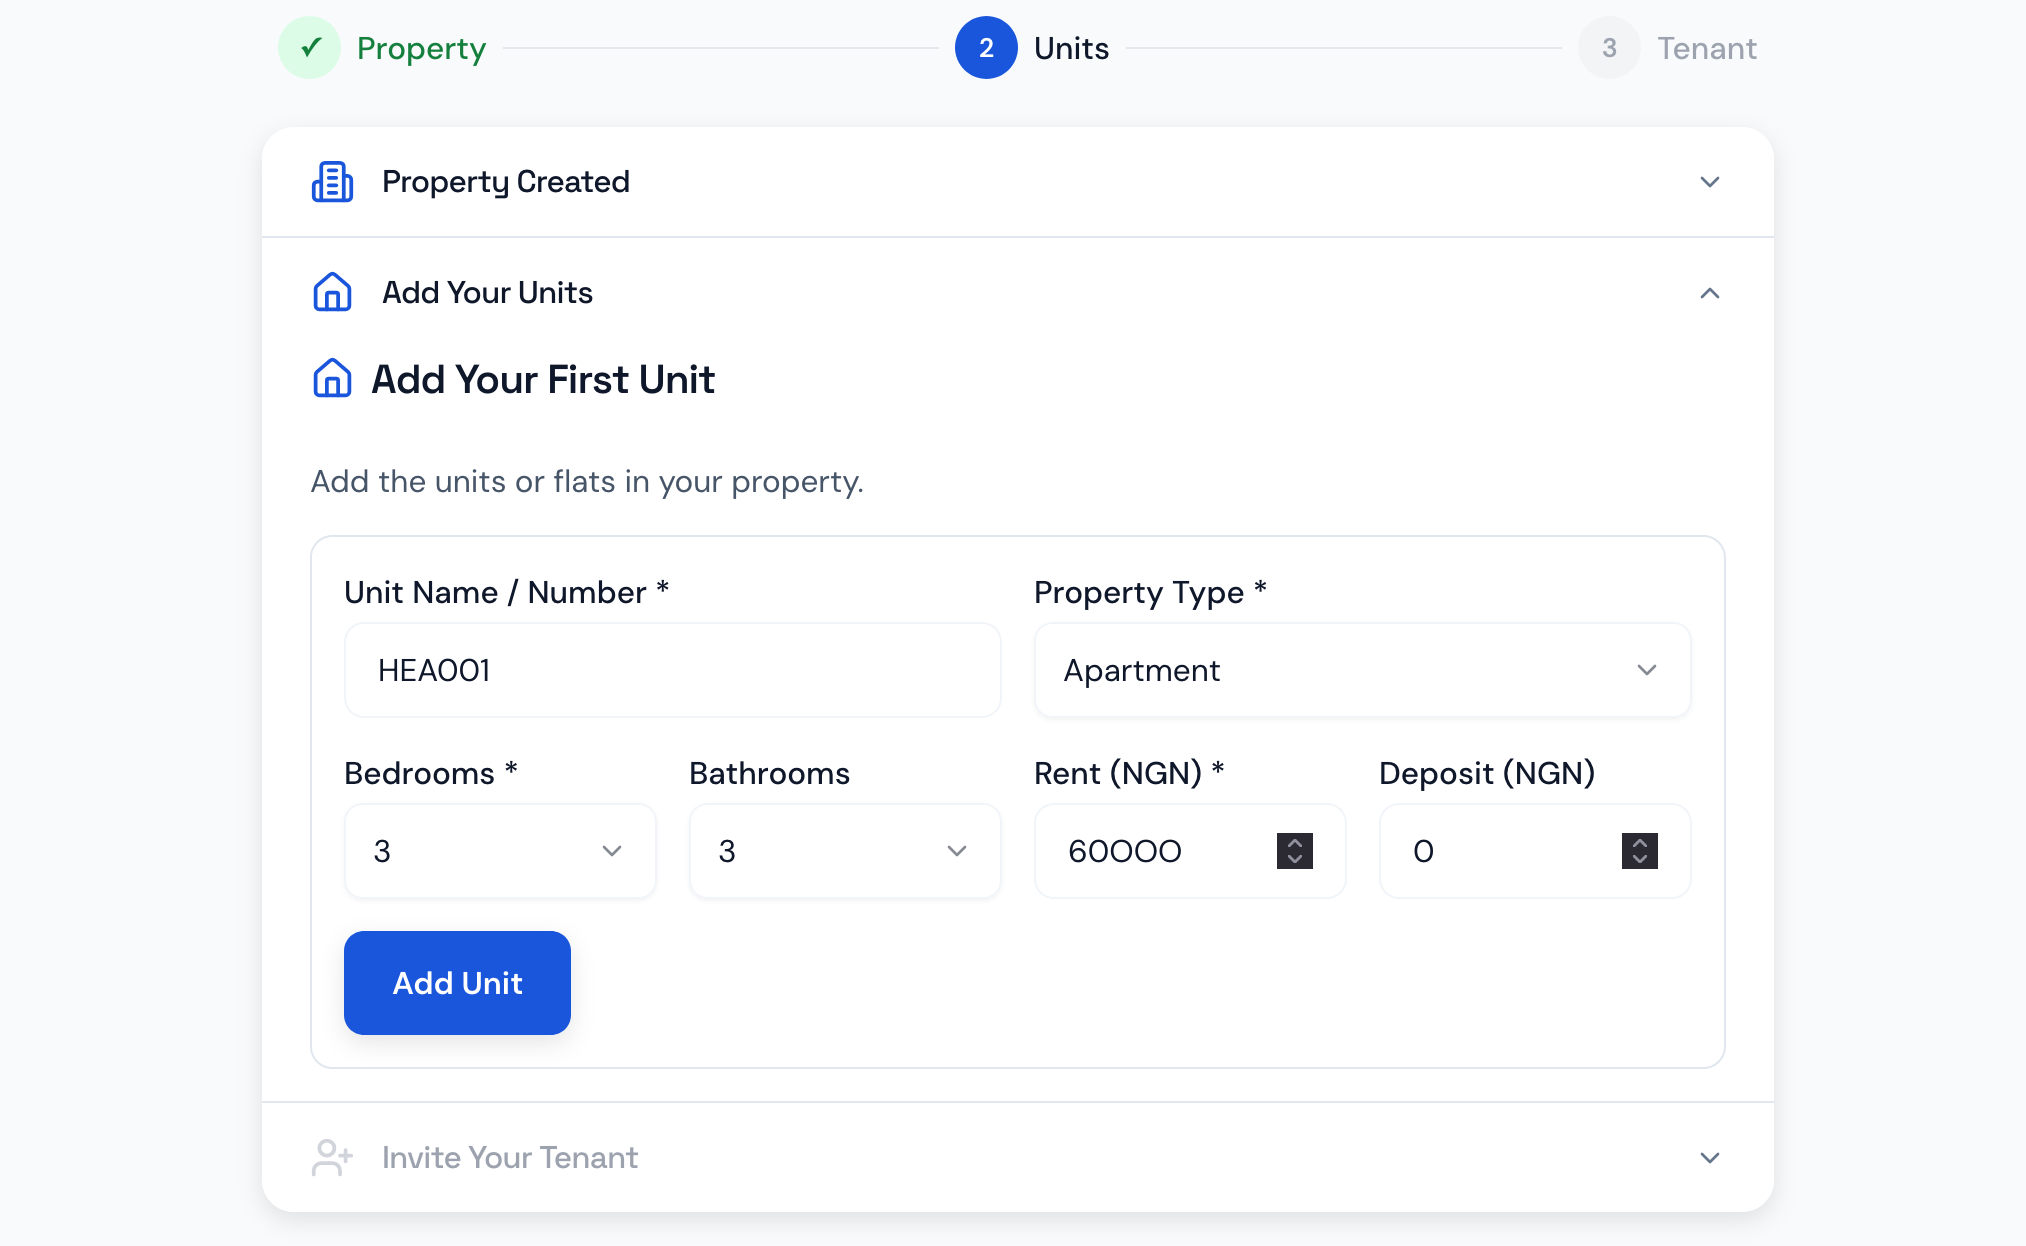
Phase 2: Add your first units
The second phase asks you to add at least one unit inside the property you just created. The form has six fields:
- Unit name or number. Whatever the unit is called in real life. "Flat 2B" or "Block C Apartment 4" both work. What you type is what tenants see on their lease.
- Property type. One of apartment, house, duplex, penthouse, studio, commercial, office, or shop. Pick the closest match from the dropdown.
- Bedrooms. 0 through 10. A studio is 0.
- Bathrooms. 1 through 5.
- Estimated monthly rent (NGN). What you expect to charge per month, in naira. The form notes that Tenantify will confirm the actual figure when a tenant accepts your invitation, so a working estimate is enough here.
- Estimated deposit (NGN). Security deposit in naira. Optional; leave it at 0 if you do not collect one.
After you click Add Unit, the unit appears in a green confirmation strip above the form. You then see two buttons:
- Add Another Unit. Opens the form again so you can add a second unit in the same estate.
- Continue. Closes Phase 2 and moves to Phase 3.
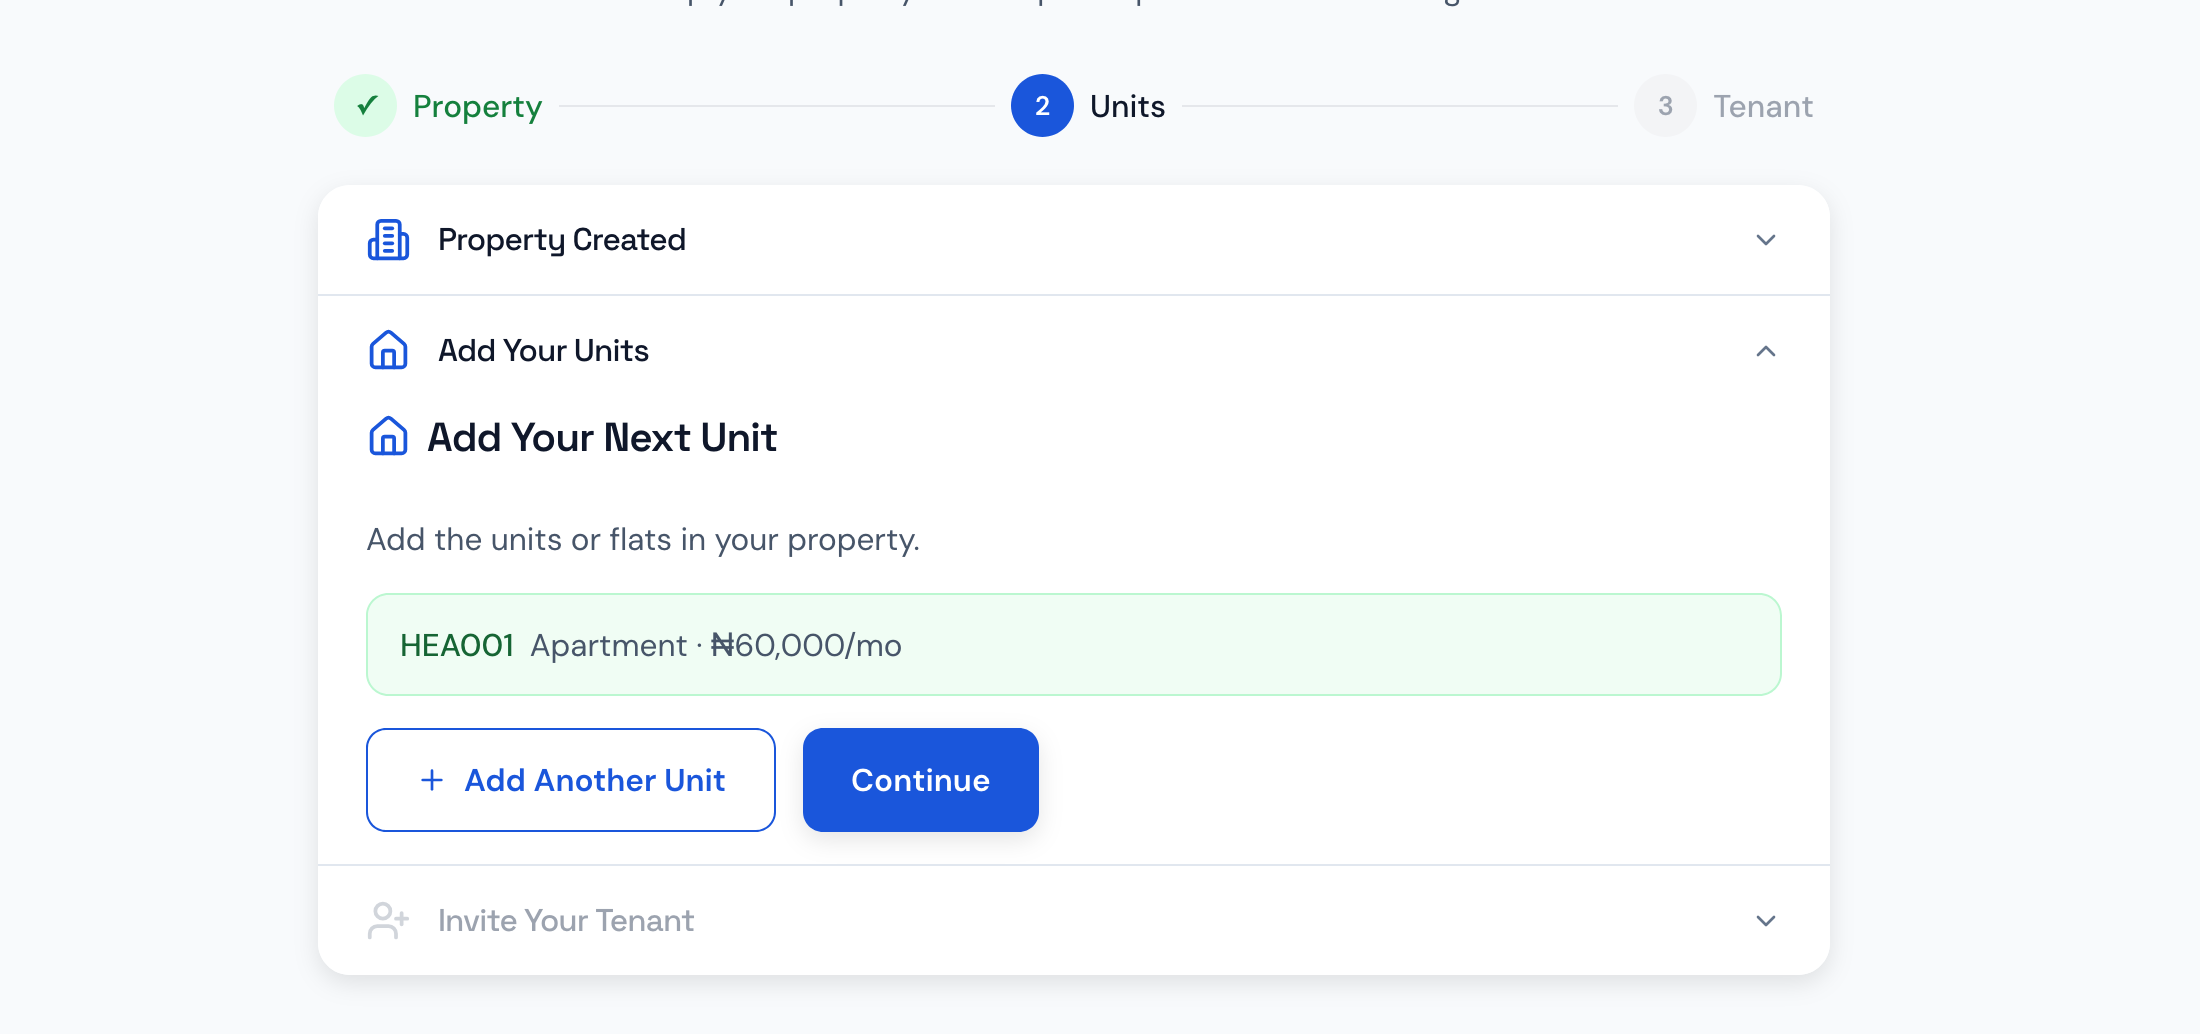
Most landlords add one or two units during the wizard and come back later to add the rest from the Properties page. There is no penalty for going small here.
Phase 3: Invite your first tenant
The third phase asks for the email address of the tenant who will live in one of the units you just added. Tenantify sends them an invitation — they create their own account, accept the unit assignment, and you both move to lease configuration after.
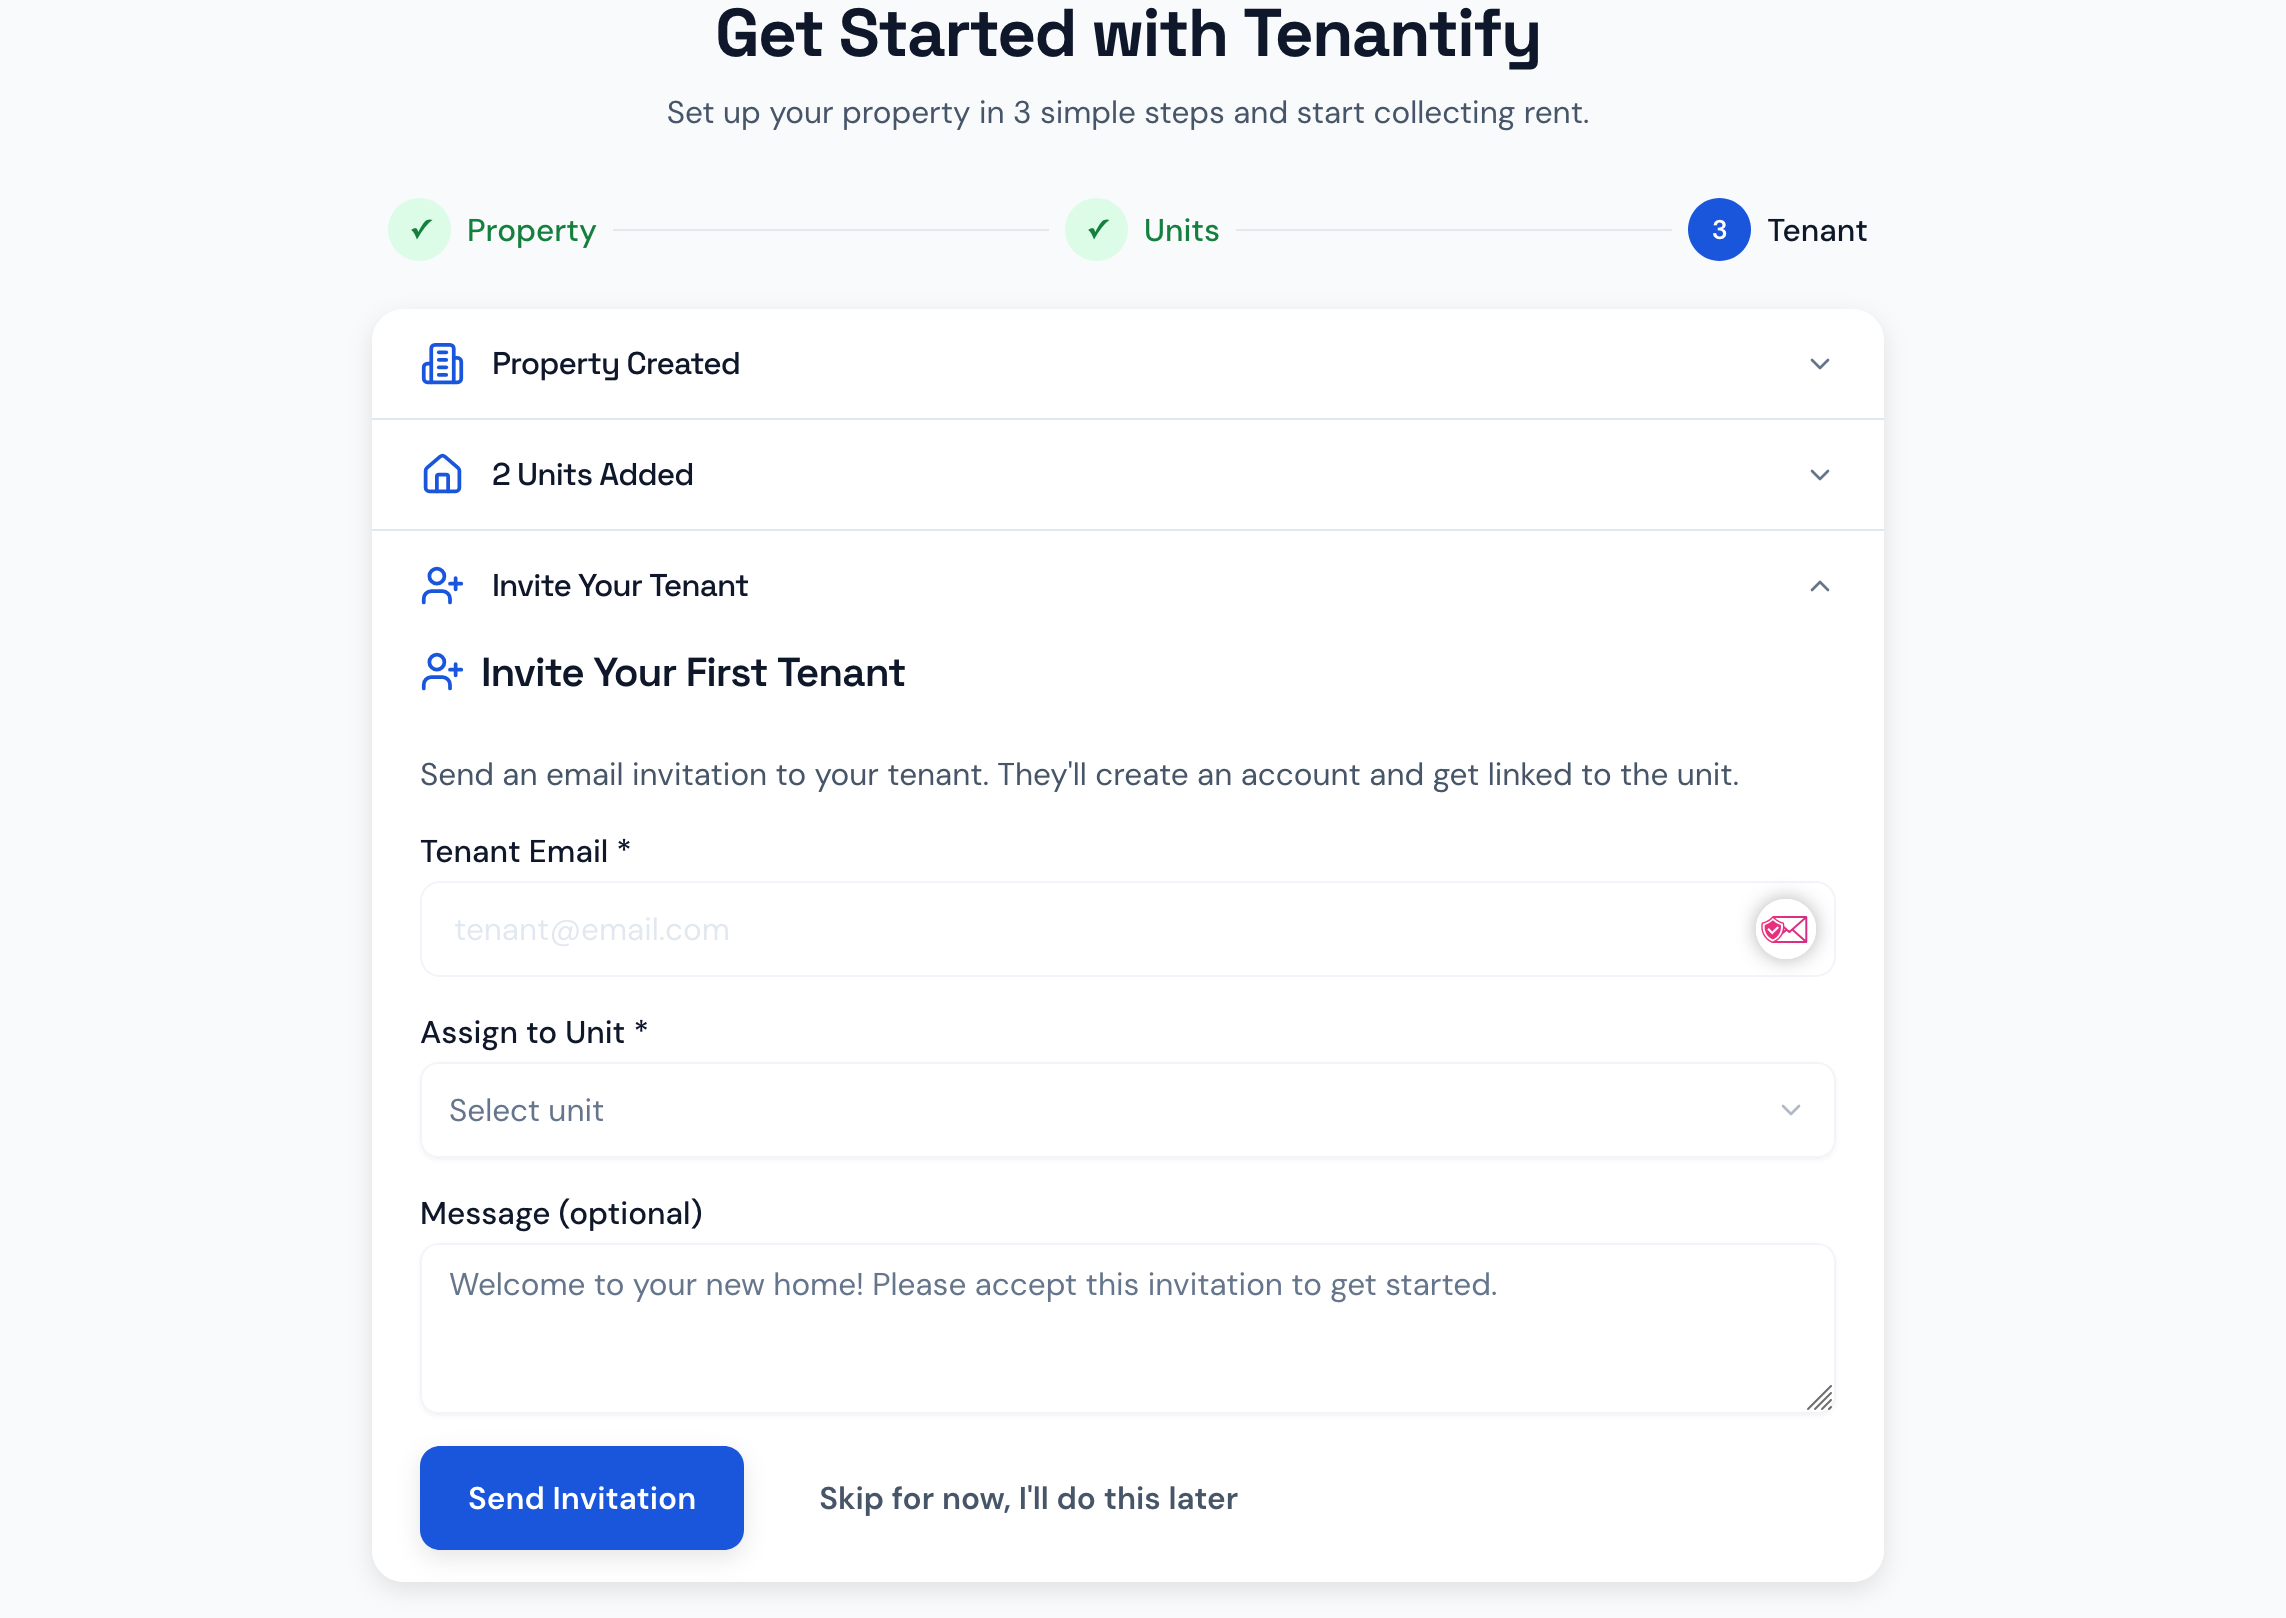
The form has three fields:
- Tenant email (required). Where the invitation goes. You do not enter the tenant's full name or phone number here; the tenant fills in their own details when they accept.
- Assign to unit. Only appears if you added two or more units in Phase 2. With one unit, Tenantify auto-assigns the invitation to it. With multiple, you pick from a dropdown.
- Message (optional). A short welcome message added to the email. Leave it blank and Tenantify uses a default.
This phase is optional. Below the Send Invitation button is a second button labelled Skip for now, I'll do this later. Click it to advance to the completion screen without sending an invitation; you can invite tenants any time from your dashboard.
The completion screen
After you submit Phase 3 (or skip it), you see a success screen titled You're all set! showing what you just did:
- The property name
- How many units you added
- The tenant email you invited (if you didn't skip Phase 3)
Screenshot coming soon
Completion: 'You're all set!' success card with property name, unit count, and tenant email
Click Go to Dashboard. Tenantify takes you to /properties?onboarding=complete — the regular Properties dashboard. From here on, Tenantify treats you as a regular landlord, not a first-time user.
What you see on Properties after the wizard
The Properties page lists the unit you added inside the estate you created. At the top, an onboarding checklist shows the four remaining milestones — configuring the tenancy agreement, setting up Paystack, and so on. The wizard handled the first three steps; the checklist handles everything after.
Screenshot coming soon
Properties dashboard post-wizard with the onboarding checklist visible at the top
The checklist does not block the page; you can ignore it and click into any unit you want. Most landlords follow it top-to-bottom on first pass because the steps build on each other.
What about second estates, second tenants, second everything?
The wizard runs once, for the first estate, with the first units and the first tenant. Everything after that — second estate, second tenant in the same unit after the first leaves, fifth unit added to the estate — happens through the regular Properties, Invitations, and Tenancy Agreements pages.
The standalone guides cover each of those flows in detail:
- Creating Your First Estate. Same flow as Phase 1, but from the Properties page after the wizard.
- Adding Property Units to Your Estate. Same as Phase 2, for any subsequent units.
- Inviting Your First Tenant. Same as Phase 3, for any subsequent invitations.
You will recognise each one as the wizard phase you just walked through, only this time launched from the regular dashboard pages.
If you left the wizard mid-flow
The wizard is re-enterable. Navigate to /onboarding/setup directly, or click Create Estate from the empty Properties page again. Tenantify checks what you have already done — whether you ever created an estate, whether the estate has any units, whether you ever sent an invitation — and lands you on the matching phase the next time you return.
Tenantify does not store a "you are still in the wizard" flag; it recomputes your position from your actual data every time. If you create an estate elsewhere in the app and skip the wizard entirely, the wizard never reappears.
If something goes wrong
Phase 2's Add Unit button stays disabled. At least one required field is missing or invalid. The form marks failing rows with red field messages — scroll through and look for the red marker.
Phase 3 says "no units available" in the dropdown. This means Phase 2 finished without any units actually saving. Go back to Phase 2, add a unit, submit, and return — the dropdown will populate. (You won't see the dropdown at all if you only added one unit; Tenantify auto-assigns in that case.)
The tenant says they never got the invitation email. Tell them to check spam first. Then go to your Invitations page from the dashboard and click Resend on the row for that invitation. The invitation record is created the moment you click Send Invitation, even if the email itself ended up in spam.
The wizard dropped me on the Properties page before I finished. Check whether you ever sent an invitation in the past. If Tenantify finds even one invitation record on your account, it considers the wizard's invite phase done and stops gating you. To re-enter, navigate to /onboarding/setup directly and complete whichever phase is still incomplete.
What's next
The next step is Configuring the Tenancy Agreement. After your tenant accepts the invitation, you both agree on lease dates, rent frequency, deposit amount, and late-fee rules. That step is the bridge between "the tenant has an account" and "the tenant can pay rent through Tenantify".