Until your bank account is linked, no tenant payment can reach you. This is the single most important setup step after creating your estate, and many landlords skip it during onboarding only to wonder later why nothing is happening.
Who this is for
Landlords and estate managers who have not yet connected a bank account, or who need to update their payment details.
What you’ll get done
Your bank account verified via Paystack, the authorization agreement signed, and your account ready to receive T+1 settlements.
Before you start
- Your Nigerian bank account number (10 digits).
- The bank name (Tenantify lists all Nigerian banks via Paystack’s bank API).
- Optional: a business name and business address if you operate through a registered entity.
Steps
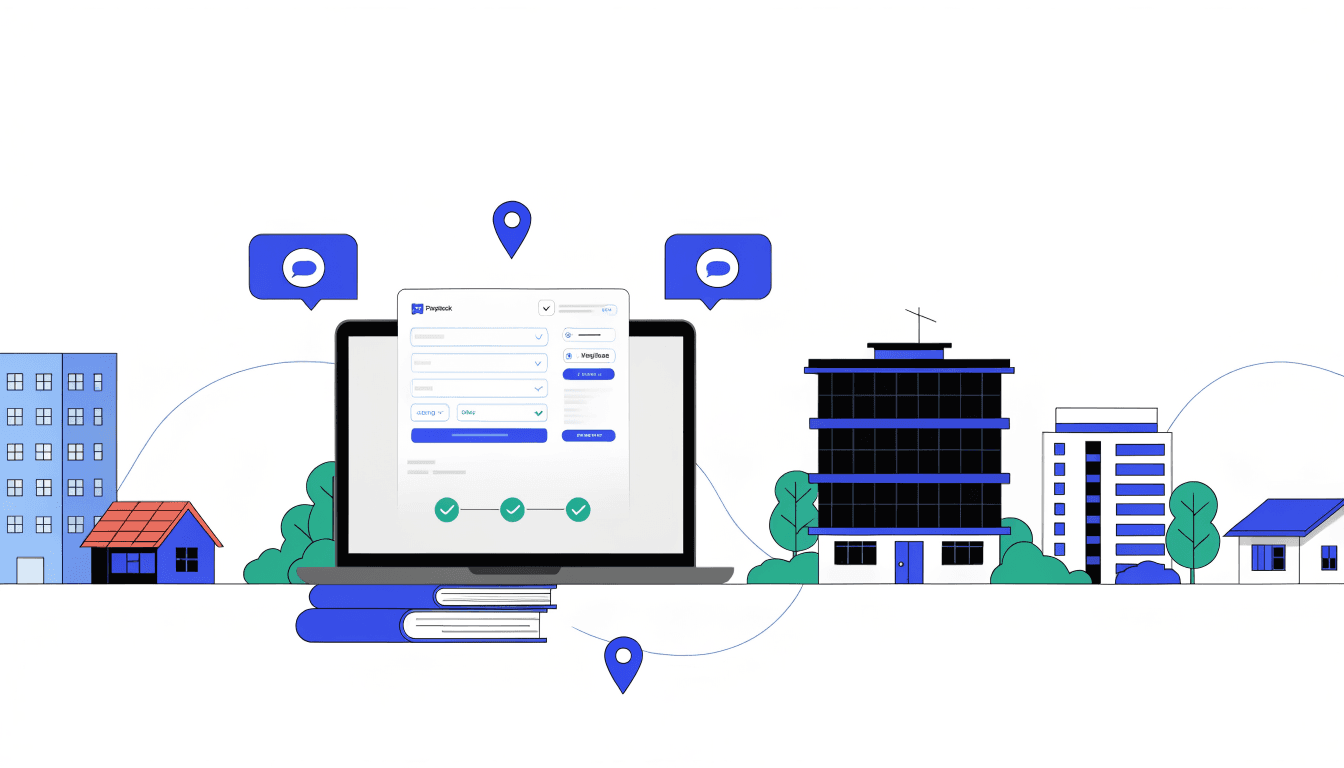
1. Open Payment Setup
Go to Settings in the sidebar, then click the Payment tab. If you have not set up your account yet, you will see an orange Not configured badge and a Set Up Payment Account button. Click it.
If you skipped this step during onboarding, you can always return here.
2. Select your bank
From the Bank dropdown, select your bank. The list is pulled live from Paystack and includes all major Nigerian banks.
3. Enter your account number
Type your 10-digit account number in the Account Number field. Tenantify verifies the account automatically as soon as you finish typing. A green Account Verified alert appears with your account holder name. If the name does not match, double-check the account number.
The verification calls Paystack in real time. If your network is slow, wait a few seconds for the green confirmation before proceeding.
4. Add business details (optional)
Two optional fields appear below:
- Business Name. If you operate through a registered company, enter it here. This name appears on payment records and authorization letters.
- Business Address. Appears on your payment authorization letter. Use your registered business address.
Leave both blank if you collect rent as an individual.
5. Click Complete Setup
The Complete Setup button is only enabled after your account is verified. Click it to open the authorization agreement.
6. Read and accept the authorization agreement
A modal titled Payment Authorization Agreement appears. This is a Paystack compliance requirement. The agreement authorises Tenantify to:
- Collect rental payments on your behalf from tenants.
- Process payments through Paystack.
- Transfer funds to your designated bank account.
- Generate receipts and maintain payment records.
- Handle payment disputes and refunds per the terms of service.
You must tick two checkboxes before you can proceed:
- “I have read and understood the entire authorization agreement above.”
- “I acknowledge that this authorization allows Tenantify to process payments on my behalf and transfer funds to my designated bank account.”
The second checkbox unlocks only after you tick the first. Click Accept & Complete Setup to finalise.
7. Setup complete
A green confirmation screen appears with a checkmark and the message “Your bank account has been verified and connected.” You are redirected to your dashboard after a few seconds.
What happens next
- Settlement timing. Rent payments are settled T+1, meaning the next business day after a tenant pays.
- No deductions. You receive 100% of the configured rent. The 3% platform fee is charged on top to the tenant.
- Updating later. Return to Settings > Payment and click Update Payment Details to change your bank account at any time.
If something goes wrong
Account verification fails. The account number is wrong, or your bank is temporarily unreachable on Paystack’s end. Try again in a few minutes. If it persists, confirm the account number with your bank.
Name on verification does not match. You may have entered an account number belonging to a different person. Tenantify cannot override Paystack’s verification. Use the correct account.
Setup button stays disabled. Your account has not been verified yet. Wait for the green “Account Verified” alert before clicking.
What’s next
With payments set up, you can start collecting rent. Continue to Collecting Rent via Paystack.